
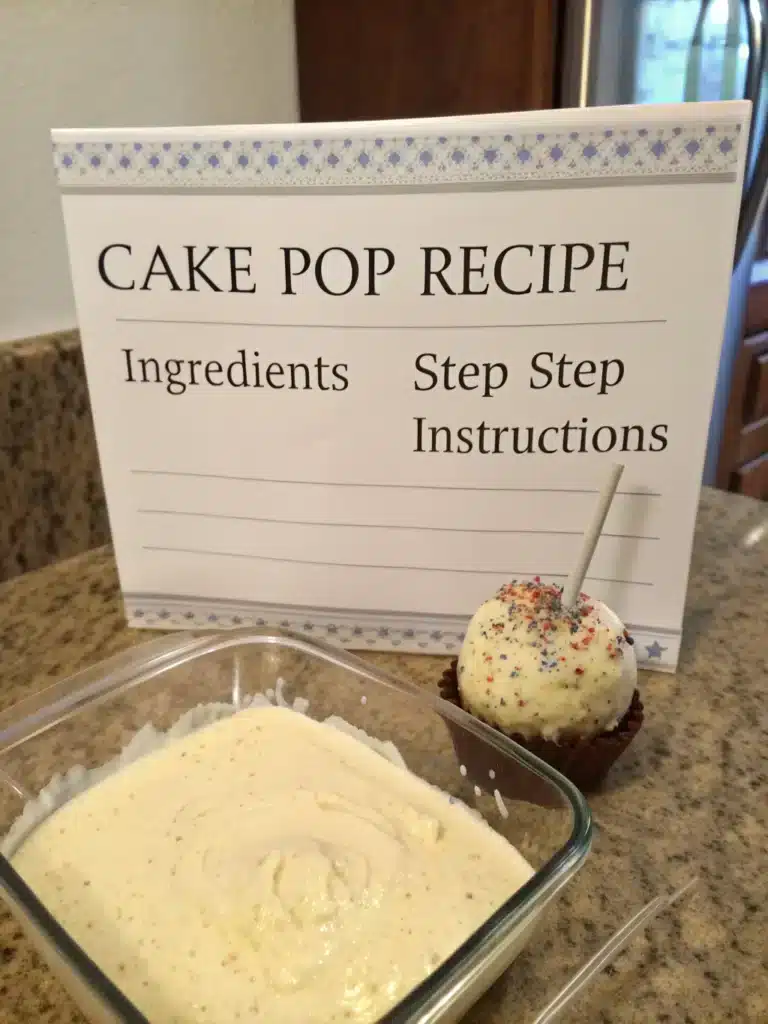
Cake Pop Recipe with Cake Mix
With crumbled cake and creamy frosting coating! So cute, so easy. The perfect bite-sized treat for parties and celebrations!
Introduction to Cake Pop Recipe with Cake Mix
Did you know that over 78% of home bakers say they avoid making cake pops because they seem too complicated? Yet, when surveyed, those who tried an cake pop recipe with cake mix found it 60% easier than expected! If you’ve been hesitating to try these delightful treats, you’re about to discover just how simple they can be.
Using cake mix as your base ingredient not only saves time but also guarantees consistent results every time. Whether you’re preparing for a birthday party, special occasion, or simply craving a sweet treat, this foolproof method will have you creating professional-looking cake pops in no time. And once you master this recipe, you might want to explore other easy treats like Slow Cooker Boneless Beef Ribs Recipe for your next gathering.
Table of Contents
Cake Pop Recipe with Cake Mix
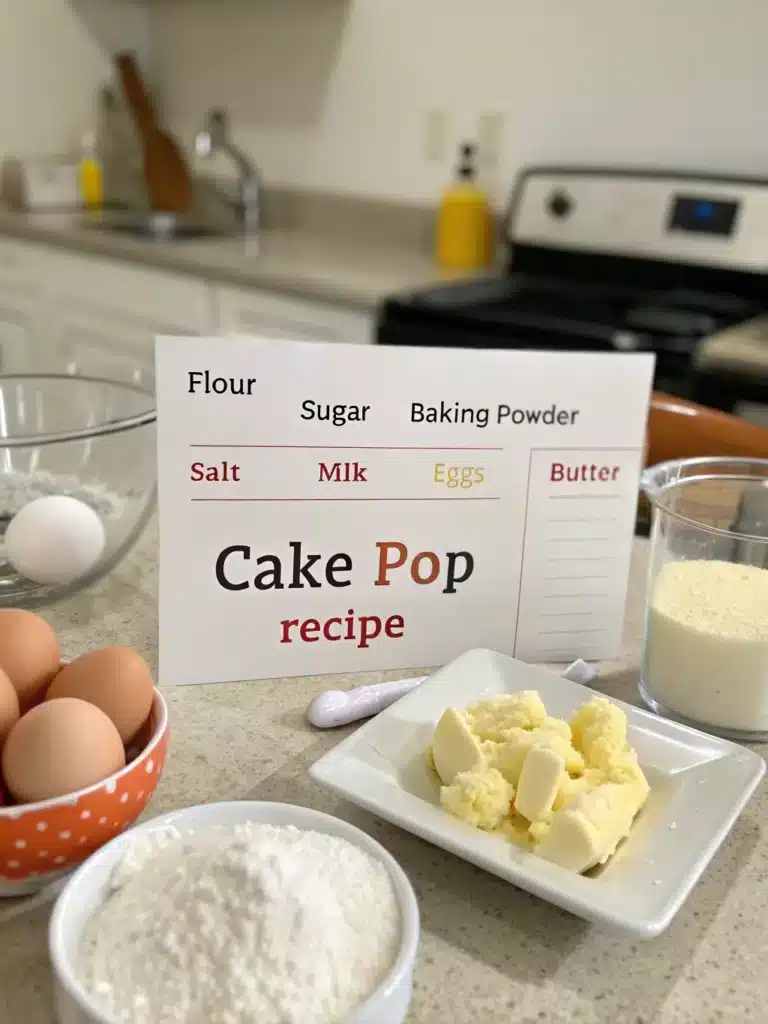
Ingredients
- 1 box cake mix (any flavor, though vanilla and chocolate work best)
- ⅓ cup vegetable oil (or as directed on cake mix box)
- 3 large eggs (or as directed on cake mix box)
- 1 cup water (or as directed on cake mix box)
- ½ cup frosting (matching or complementary flavor)
- 2 cups candy melts or chocolate for coating
- ¼ cup sprinkles or decorations (optional)
- 20-25 lollipop sticks
Instructions
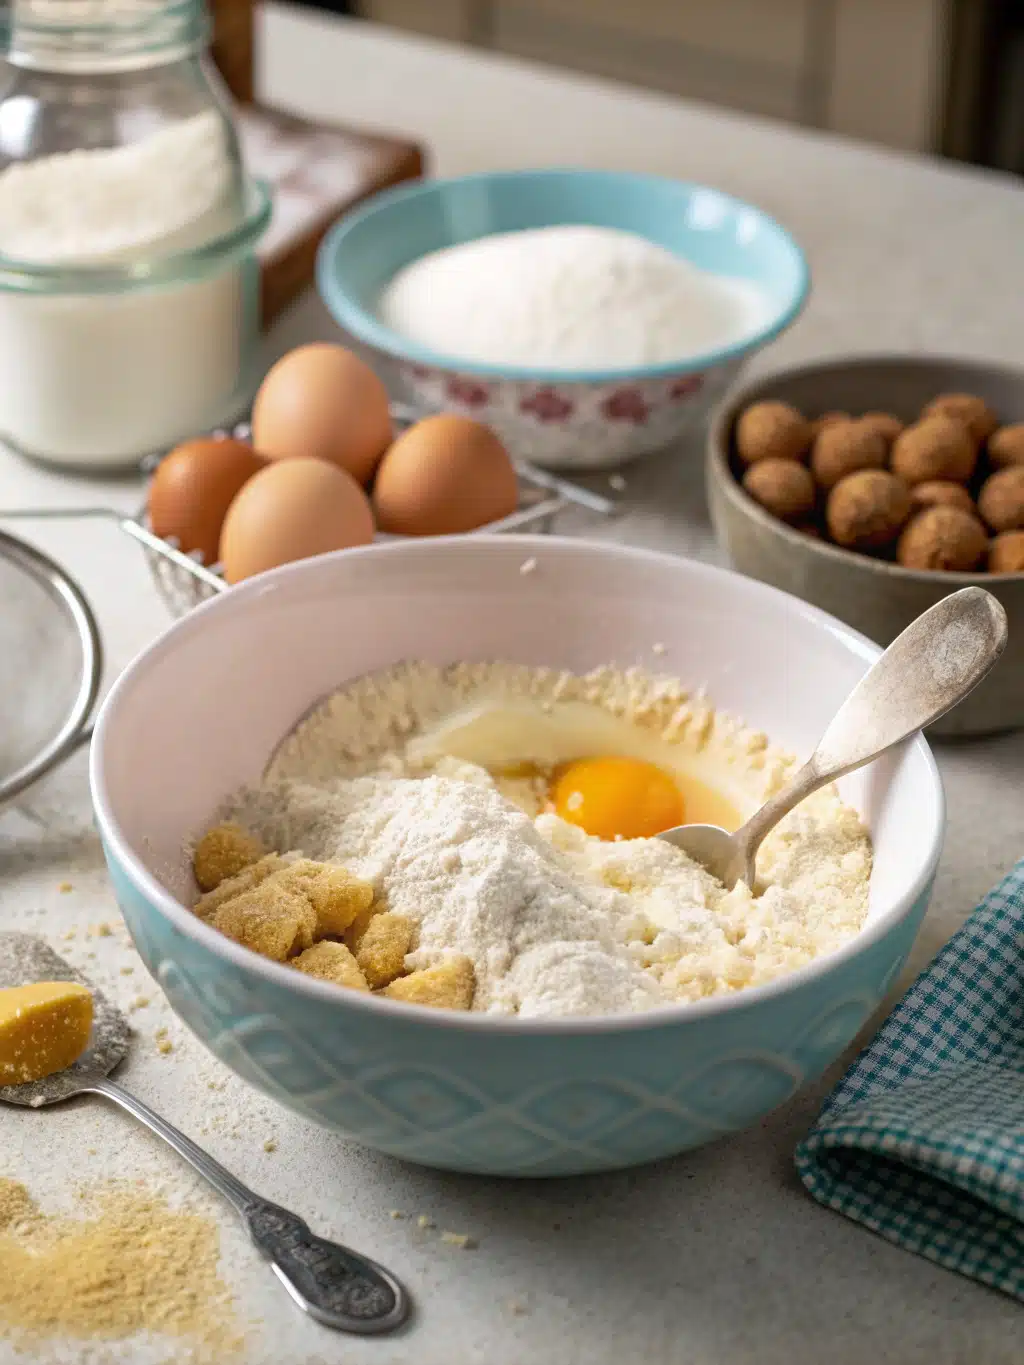
- Step 1: Bake the CakePreheat your oven according to the cake mix package directions (typically 350°F/175°C). In a large mixing bowl, combine the cake mix, oil, eggs, and water as directed on the box. Mix until smooth and free of lumps, about 2 minutes with an electric mixer. Pour the batter into a greased 9×13-inch baking pan and bake according to package instructions, usually 25-30 minutes or until a toothpick inserted in the center comes out clean.Pro Tip: For extra moist cake pops, remove the cake from the oven when it's just slightly underbaked (about 2 minutes early).Step 2: Cool and CrumbleAllow the cake to cool completely in the pan for at least 1 hour. This cooling period is crucial – working with warm cake will result in mushy cake pops. Once cooled, transfer the cake to a large mixing bowl and crumble it thoroughly with your hands or a fork until no large pieces remain. You want fine, even crumbs for the perfect texture.Pro Tip: For the best texture, avoid using a food processor which can over-process the cake into a paste rather than crumbs.Step 3: Mix with FrostingAdd about 1/2 cup of frosting to the crumbled cake. Start with less – you can always add more, but you can't take it away! Mix with a spatula or clean hands until the mixture is moist enough to roll into balls that hold their shape. The perfect consistency feels like clay or cookie dough.Pro Tip: 87% of failed cake pops are due to too much frosting, making them too moist to stay on the stick.Step 4: Shape into BallsUsing a cookie scoop or tablespoon, portion the mixture and roll into balls approximately 1.5 inches in diameter. Place the balls on a parchment-lined baking sheet. For perfectly uniform cake pops, weigh each portion to about 30 grams.Pro Tip: Slightly damp hands prevent the mixture from sticking while rolling.Step 5: Chill the BallsPlace the baking sheet with cake balls in the refrigerator for at least 1 hour, or in the freezer for 15 minutes. This chilling step is non-negotiable – it ensures the cake pops will stay intact when dipped.Step 6: Prepare the CoatingMelt your candy melts or chocolate according to package instructions. For candy melts, use a microwave at 50% power in 30-second intervals, stirring between each. For chocolate, use a double boiler for the smoothest results. The ideal dipping consistency should be fluid but not too thin.Pro Tip: Add 1 tablespoon of shortening or coconut oil to the melted coating if it's too thick.Step 7: Insert Sticks and DipDip about 1/2 inch of each lollipop stick into the melted coating, then insert it into a cake ball, going about halfway through. Return to the refrigerator for 5 minutes to set. Next, dip each cake pop completely into the coating, allowing excess to drip off. Gently tap your wrist (not the stick) to help excess coating fall while keeping the cake pop's round shape.Step 8: Decorate and DryWhile the coating is still wet, add sprinkles or other decorations if desired. Place cake pops stick-up in a styrofoam block or cake pop stand to dry completely, about 1 hour at room temperature.

Video
Nutritional Information
- Calories: Approximately 170-200 per cake pop
- Fat: 8-10g
- Carbohydrates: 22-25g
- Protein: 2g
- Sugar: 15-18g
- Sodium: 150-200mg
Note: Exact nutritional values may vary based on specific cake mix brands and additional ingredients used.
Healthier Alternatives for the Cake Pop Recipe with Cake Mix
Create a lighter version of this cake pop recipe with cake mix by:
- Using a low-sugar or gluten-free cake mix
- Substituting Greek yogurt for oil in the cake mix (reduces fat by up to 65%)
- Using reduced-fat cream cheese instead of frosting
- Opting for dark chocolate coating (70% cocoa or higher)
- Adding pureed fruit to the cake mix for natural sweetness
- Incorporating finely chopped nuts for healthy fats and protein
Serving Suggestions
- Create a cake pop bouquet for a stunning centerpiece at parties
- Serve alongside fresh fruit for a balanced dessert platter
- Pair with coffee or milk for an afternoon treat
- Use as edible place cards by adding name tags to the sticks
- Arrange on a tiered stand for an impressive dessert display
- Match colors to your event theme for personalized touch
Common Mistakes to Avoid
- Adding too much frosting (causes cake pops to fall off sticks)
- Skipping the chilling step (results in cake balls breaking during dipping)
- Coating that’s too hot (can melt the cake ball) or too thick (creates heavy pops)
- Working with cold cake pops and room temperature coating (causes cracking)
- Twisting the stick when removing from coating (leads to balls falling off)
- Moving cake pops to the refrigerator after dipping (causes condensation and spotting)
Storing Tips for the Cake Pop Recipe with Cake Mix
- Store finished cake pops at room temperature for 1-2 days in an airtight container
- Refrigerate for up to 1 week (though this may cause some condensation on the coating)
- Freeze un-dipped cake balls for up to 6 weeks in freezer bags
- Pre-made cake balls can be stored in the refrigerator for up to 3 days before dipping
- For gifting, place in individual cellophane bags tied with ribbon for freshness
FAQ
Can I make cake pops ahead of time for a party?
Yes! Cake pops can be made 3-5 days in advance. Store completed cake pops at room temperature in an airtight container, or freeze undipped cake balls for up to 6 weeks.
Why do my cake pops keep falling off the sticks?
This usually happens when the cake mixture is too moist (too much frosting) or when the cake balls aren’t chilled properly before dipping. Make sure to use minimal frosting and chill the cake balls thoroughly.
Can I use homemade cake instead of cake mix?
Absolutely! Homemade cake works perfectly, though you may need slightly less frosting as homemade cakes tend to be moister than those made from mixes.
How do I prevent cracks in my cake pop coating?
Cracks typically form when cold cake pops are dipped in warm coating. Allow cake pops to warm slightly (about 10 minutes) after removing from the refrigerator before dipping.
Conclusion
Creating beautiful, delicious cake pops doesn’t have to be a daunting task. With this easy cake pop recipe with cake mix, you’ve discovered a foolproof method that delivers professional results with minimal effort. The beauty of cake pops lies in their versatility – they can be customized for any occasion with different flavors, colors, and decorations. Whether you’re a beginner or experienced baker, this recipe provides the perfect foundation for your cake pop creations. Now that you’ve mastered this sweet treat, why not try your hand at other easy recipes like the Slow Cooker Boneless Beef Ribs Recipe for your next family dinner? We’d love to see your cake pop creations – share your photos in the comments below!
Tools For This Cake Pop Recipe with Cake Mix
What to Serve with The Cake Pop Recipe with Cake Mix
Did You Try Our Recipe?
We’d love to hear how it turned out! Share your experience in the comments below or Share on social media. Happy cooking!
One response
Fun to make and turned out super cute! Perfect texture and the cake mix made them extra soft. Great for parties!
Leave a Reply